Official Luthiers Forum!
http://www-.luthiersforum.com/forum/

#4 out the door - 6 pictures
http://www-.luthiersforum.com/forum/viewtopic.php?f=10102&t=5774
Page 1 of 2

Author:  Rod True [ Wed Mar 22, 2006 9:28 am ]
Post subject: 

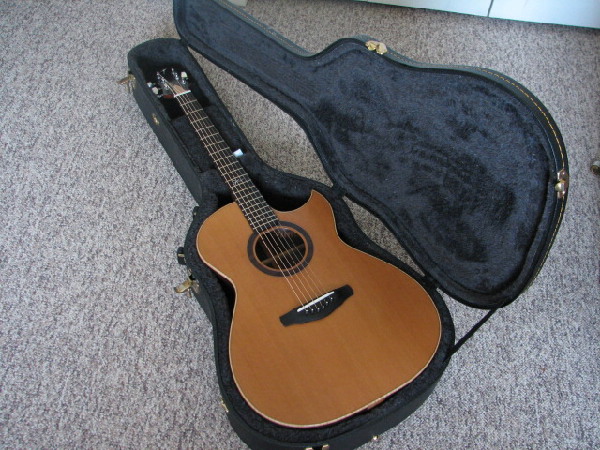
Well, here it is #4 heading out to my friend tomorrow. This guitar is traded for a website, design and update by a good friend of mine.

Intro:
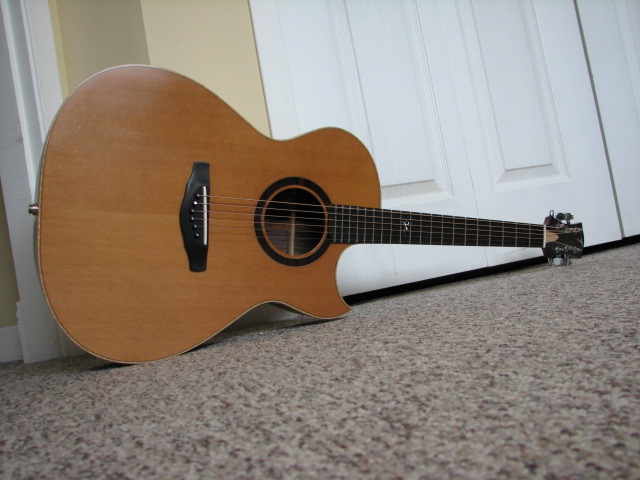
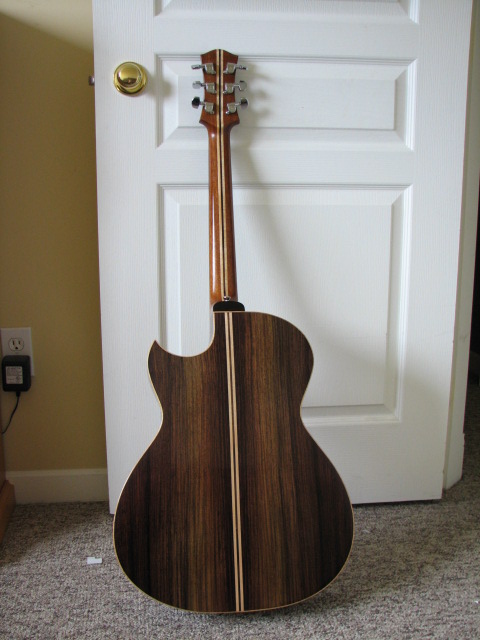
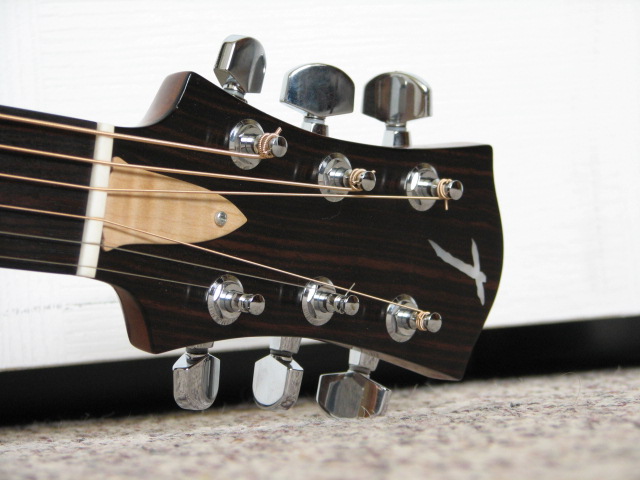
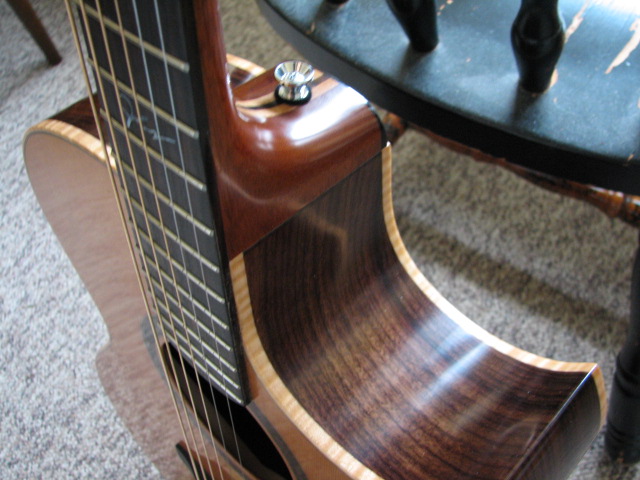
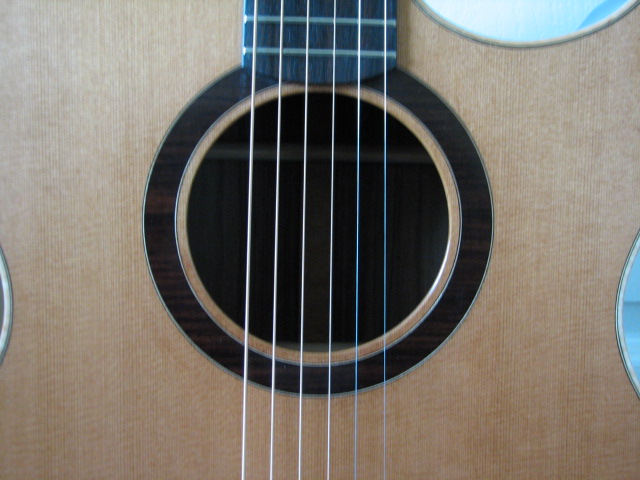
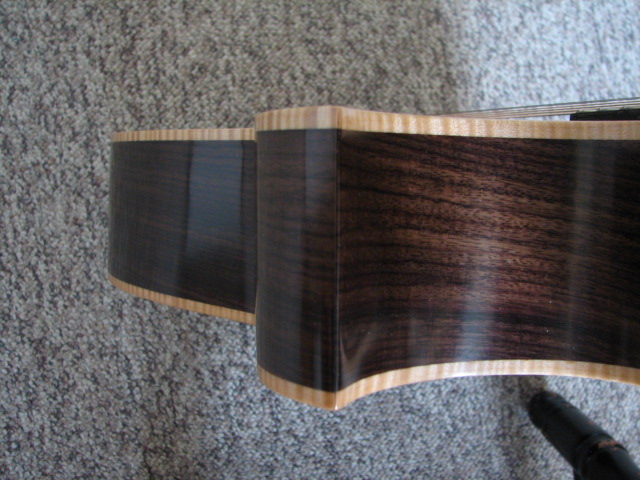
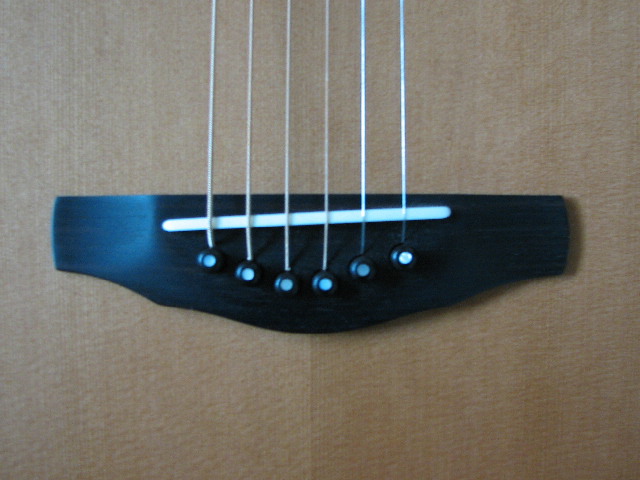
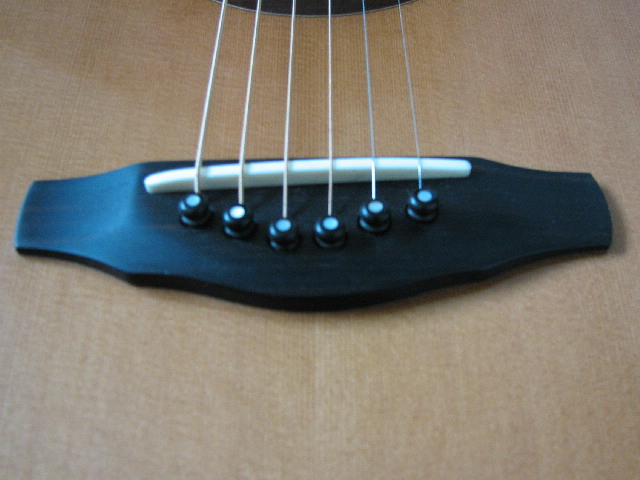
EIR Back and Sides, Western Red Cedar Top, Maccasser Ebony fretboard, bridge and head stock veneer, 5 piece laminated neck Honduran Mahogany, Maple, Rosewood, single action truss rod (adjusting at the nut as you can see), flamed maple binding with b/w/b purfling on the top, EIR rosette with b/w/b purflings lines, standard Schaller chrome tuners, MOP headstock logo and customer signature at the 12th fret.
Finish is mohawk classic instrument lacquer over bulls eye premixed shellac.

Dimensions: 16" lower bout, 11-1/2" upper bout, 9-1/2" waist, 20" body length, 25.4 scale, 4-1/4" at the tail, 3-1/4 at the neck joint.

Firsts for me:

Pearl inlay work, the entire finish job (that I am happy with).

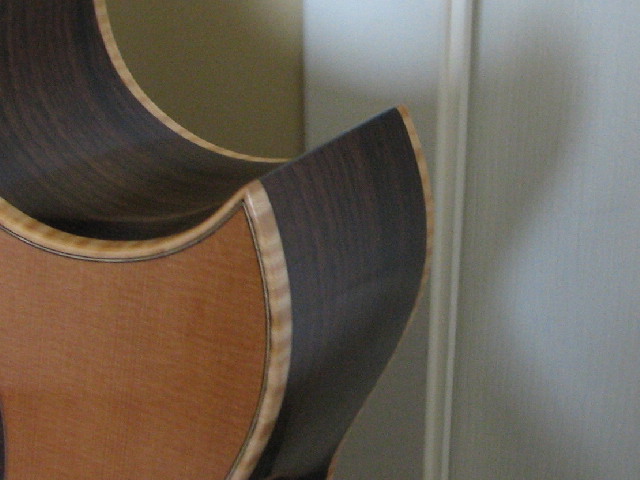
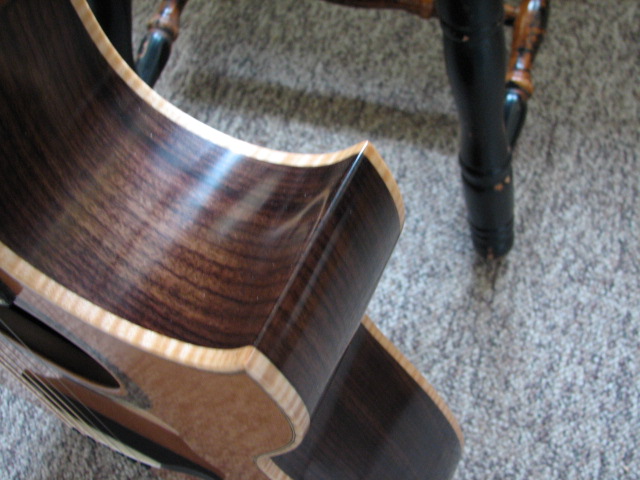
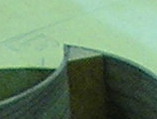
Things i'm realy pleased with: The body mitter at the cutaway, the signature (95% satisfied), the finish (95%, to chicken to try high gloss), the playability and the sound.

Things i'm not so please with: well, I'm not telling.

Thanks for looking


Rod True38798.7311111111

Author:  ATaylor [ Wed Mar 22, 2006 9:44 am ]
Post subject: 

Nice work! Customer signature is a nice touch. Much more personalized! Congrats!

Author:  L. Presnall [ Wed Mar 22, 2006 9:45 am ]
Post subject: 


Author:  KiwiCraig [ Wed Mar 22, 2006 9:46 am ]
Post subject: 


Beautiful work Rod. How did you meet the cutaway so neatly with no binding ? I love the guitar

Regards KiwiCraig

Author:  Serge Poirier [ Wed Mar 22, 2006 9:48 am ]
Post subject: 

Lovely guitar Rod, great job all over, you mitter job and cutaway are excellent! Way to go !

Author:  Dave Rector [ Wed Mar 22, 2006 9:59 am ]
Post subject: 

Sweet!!!

Uh oh, I think the Serge bug bit me.

Author:  Dave Anderson [ Wed Mar 22, 2006 10:10 am ]
Post subject: 

Very,Very nice Rod ! beautiful job all around!

Author:  Rod True [ Wed Mar 22, 2006 10:17 am ]
Post subject: 

Hey thanks for all the kind words friends.

Craig, the cutaway took some fine work indead, I just worked realy slowly at it on the sander, little bit here, little bit there till the mitter worked, than I touched up the cutaway side on the pipe to make it fit the headblock. The nice thing about rosewood is that seams are hidden easily. Just try this with Maple, Ha, not me.

Here are a couple more pics of the cutaway and the bridge (which I can't take credit for as it is too similar to Kevin Ryan's and James Olson's, good company there thought eh? )


These are my favorite pictures of the cutaway, you can see the bookmatch is pretty good at the joint.


Notice on this last picture that the saddle is dead flat on the top. I have not done a final setup yet, but it is very well intonated so far (very nice surprise indead). I am letting my friend have it for a week or two, than I will do the final setup.


Thanks again.Rod True38798.7654282407

Author:  Anthony Z [ Wed Mar 22, 2006 10:34 am ]
Post subject: 

Rod, mighty fine clean work. The cutway joint and mitre could not be better.

Congrats!!!

Author:  Jim Kirby [ Wed Mar 22, 2006 10:49 am ]
Post subject: 

Very nice! I especially like the neck lamination accent that repeats on the back - I've been wanting to try that out myself.

Kirby


Author:  WalterK [ Wed Mar 22, 2006 11:06 am ]
Post subject: 

WOW...!!!!!
ROD,
that's really nice BROTHER!!
thanks for the pic's.

walter

Author:  Bobc [ Wed Mar 22, 2006 11:07 am ]
Post subject: 

Very beautiful work Ron. I like everything about it.

Author:  RichB [ Wed Mar 22, 2006 11:11 am ]
Post subject: 

Very Nice Rod...

Although, being not a big fan of sharp cutaways, that just looks real spectacular all around, w/ the maple binding and the lam neck. The subtle appointments work well. I just might have to change my way of thinking. Great Job! ~
What was your finishing process? As soon as I get mine bound, I can begin planning on what type of finish I'll be using for my first. ~

RB

Author:  Steve Saville [ Wed Mar 22, 2006 11:19 am ]
Post subject: 

Rod,
WOW, that's so nice! Can you tell us how you made the side miter on the cutaway? That is just awesome.

Author:  MSpencer [ Wed Mar 22, 2006 12:49 pm ]
Post subject: 

Excellent Work!

Congrats Rod

Mike
White Oak, Texas

Author:  burbank [ Wed Mar 22, 2006 1:02 pm ]
Post subject: 

Wow, Rod. Well done indeed!

Author:  Iplaytheoldies [ Wed Mar 22, 2006 1:29 pm ]
Post subject: 

Great work Rod! Cutaway looks very clean. Any tips?

Author:  CarltonM [ Wed Mar 22, 2006 1:57 pm ]
Post subject: 

You done a good thing, Rod!

Author:  Dennis Leahy [ Wed Mar 22, 2006 2:11 pm ]
Post subject: 

Wow, that cutaway miter is awesome! Way to go! There was no room for error. None. Zero. Not with that style, and you nailed it!

Dennis

Author:  Wes McMillian [ Wed Mar 22, 2006 2:14 pm ]
Post subject: 

Nice job, Rod!

You'd almost think that cutaway was carved from a single piece of wood. Great job matching!

Author:  Rod True [ Wed Mar 22, 2006 2:14 pm ]
Post subject: 

OK, this is the first cutaway I've done with out binding on it (all 4 of my guitars to date have a florentine cutaways). So, from memory here goes, I don't think I have any pictures, I'll take some the next time round cause I have another customer who wants a cutaway, I can't seem to get away from them .

Some terms I'll use before we start.
"Cut away long side" the long side piece running from the tail to the tip of the cutaway.
"Cut away short side" the other side.

It's basically like doing any corner miter with binding, only your doing it with the side piece. You want to make this joint first, before you attach the head and tail blocks.

Start with the inside block, shaped to the profiles of the curves of both side pieces, you should lay this out on paper (cause we all know that the wood acts just like a paper layout right )


Now, take the cutaway long side place it in the mold with the waist located correctly and markout where the tip of the cutaway is going to be on the inside of the side. Now I take the cutaway short side and lay sit it on top of the tip of the cutaway to help layout the miter angle, make a mark on the outside of the long side where the top of the cutaway will be. Use your square and draw a line down the side. Now you have two lines on the side, one inside and one outside. You can join these lines accross the thickness to get an idea of the angle of the miter. You all with me so far?

Next I take the long side to the sander (I use my thickness sander as I don't have an edge or belt sander) and sand in a rough angle, close to the miter angle for the cutaway. Check the inside and outside lines often as you don't want to sand through one, just close to them both.

So once you have this rough angle sanded to the long side, do the same with the short side.

Once the short side is roughed in, check the sides and inside block to your paper layout. Now you can start refining the angles getting them just right. Like any of the miters on the guitar, you want to go slow and take a little of at a time to make sure you don't have a Homer moment (Doh!) and trim to far. It's always easier to take off the material, it's much harder to put it back without anyone noticing.

When you have the miter where you like it, you want to glue up both pieces to the inside block all at once. Using Bruce Dickey's florentine idea or something similar, here's James Olson's


Clamp the two sides to the inside block. I made my block similar to James' and Bruce's so I could use cam clamps and clamp both sides at once.

Than you should have a nice clean joint once the glue has set up. As I said, gaps in rosewood joints hide very well with sawdust and CA, so don't worry to much about gaps, of course you want as few as possible.

Now you can touch up the short side on the pipe if you need to, but if you've bent the pieces to your paper layout, you should not need to.

Now your ready to glue in the tail and head block as well as the other side.

Few.... I hope I haven't scared any of you away trying this out. It sure is rewarding when it turns out.

Don't think I would try in on Maple though as that seam would be very hard to fill any gaps.Rod True38798.9309953704

Author:  Steve Kinnaird [ Wed Mar 22, 2006 3:04 pm ]
Post subject: 

Rod that's very nice. I really like the shape of your cutaway...well done.

Steve

Author:  old man [ Wed Mar 22, 2006 3:13 pm ]
Post subject: 

Wonderful job, Rod.

Ron

Author:  LanceK [ Wed Mar 22, 2006 3:24 pm ]
Post subject: 

great job Rod! The point on the cutway is killer!

Page 1 of 2 All times are UTC - 5 hours
Powered by phpBB® Forum Software © phpBB Group
http://www.phpbb.com/